
Garden Decor Lighting Ideas: Lanterns, String Lights, and Fire Bowls
A practical guide to lanterns, string lights and fire bowls: how to layer decorative garden lighting for...

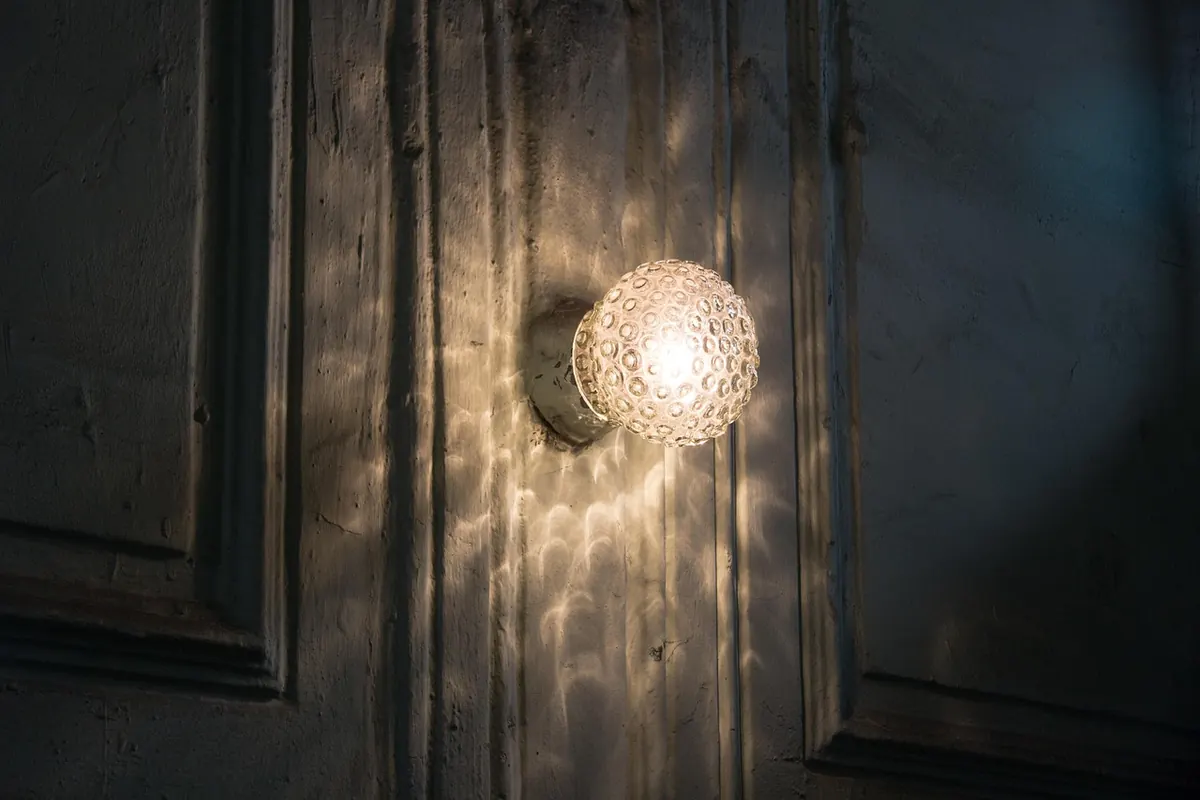
Most garden lighting goes wrong long before anyone picks up a cable. It goes wrong on a bright Saturday afternoon, when a spotlight is aimed at a shrub that looks wonderful in daylight and turns into a hard white smear against the fence at nine o'clock at night.
The ten mistakes below are the ones that turn up again and again in real gardens: the path that looks like a runway, the tree lit from so far away that only the lawn glows, the beautiful scheme that nobody has touched since the day it was installed. None of them is expensive to correct. Most need an hour after dark, a willingness to shift a fixture half a metre, and the discipline to point light at surfaces instead of at people.
The most useful hour you will ever spend on garden lighting happens after dark, with a torch in one hand and a notebook in the other. Walk the route a guest would take: out of the back door, across the patio, down the steps, along the path to the shed. Note where you genuinely cannot see your feet. Then note what you stop and look at — the trunk of the birch, the corner of the old wall, the pot by the gate. That list, not a catalogue page, is your brief.
Fix: do the night survey before you buy anything. If you want a preview, run an extension lead outside and clip a single warm-white lamp to a broom handle. Move it slowly around the garden. Three or four positions will teach you more than an afternoon of browsing.
Darkness is the material you are working with. If every corner glows, nothing stands out and the garden reads as flat and slightly anxious, like a car park. The eye needs somewhere to rest.
Fix: in each view, light no more than two or three elements and let the rest fall dark. In a small garden that might mean one uplight in a multi-stem tree, a soft wash along a wall and two path lights. That is a complete scheme. The unlit planting between those features is what makes the lit parts look deliberate.
Fixtures should be the last decision, not the first. The order that saves money and swearing is: zones, cable routes, transformer or driver position, then fittings. Two or three zones mean a single fault does not switch off the whole garden.
Mains wiring is a job for a qualified electrician, and local rules on outdoor circuits and protection vary — worth a short conversation before the trench is dug, not after.
Glare is light arriving at the eye instead of at a surface, and it is the fastest way to make an expensive scheme look cheap. If you can see the lamp from the sofa or from the kitchen window, you have glare.
Fix: hide the source, not the light. Aim fittings across walls and down onto surfaces rather than outward. Use shields, hoods and louvers. For tree uplighting, set the fixture at the base of the trunk so the beam travels up and the body of the fitting disappears into the planting.
Path lights spaced at identical intervals, at identical heights, on both sides of the walk are the single most common mistake in British and Irish gardens. They announce the route loudly and leave the path itself patchy.
Fix: use fewer, offset them, and vary the distance between them. Aim the light along the path so it falls where feet land, not across it into the border. Keep bollards low, and put dedicated step lights on steps rather than hoping a path light will cover the drop.
A wide flood placed several metres from a mature tree lights the lawn, the fence and the underside of the canopy, and leaves the trunk — the thing worth seeing — untouched.
Fix: move the fitting close to the trunk, roughly a metre out, and use a narrow beam angled upward along the main stem. On a large tree, two or three small fittings placed around the trunk give the canopy depth that one powerful light never will.
A scheme can look impeccable from the patio and be unusable from the bedroom above it. Light spilling into windows, and light trespass toward a neighbour's garden, are the two complaints that end most outdoor lighting projects early.
Fix: after dark, stand at every window that overlooks the garden. Then walk to the boundary and look back. Shield anything that points the wrong way, aim features inward, and put the whole system on a timer so it is not still burning at two in the morning.
Warm-white and cool-white in the same border is instantly visible: one fixture reads orange, the next reads blue, and the planting between them looks muddy. Foliage in particular suffers under cool white light.
Fix: choose one colour temperature for the whole garden — 2700K to 3000K suits most planting and most brick, stone and timber — and buy every fitting to match. Look for a decent colour rendering index so greens and terracottas stay recognisable.
More light does not mean a better garden. It flattens texture, kills shadow and makes foliage look plastic. Your eyes adapt to whatever level is in front of them, which is why a scheme installed at full brightness so often gets switched off and never used.
Fix: buy fewer fittings with lower output, and dim them where the driver allows. Then resist the urge to add one more when a corner feels empty. Usually that corner should be dark.
Garden lighting lives outdoors. Lenses cloud, seals perish, leaves fill uplight bodies, shrubs swallow bollards, and aiming drifts every time someone prunes or plants. A scheme left alone for three seasons rarely looks like the one that was commissioned.
Fix: treat maintenance as part of the design. Ten minutes with a cloth and a screwdriver every few months is the difference between a garden that looks considered and one that looks abandoned. Keep a simple note of what is where, and check the timers when the clocks change.
Put this in the diary for the start of each season, and the ten mistakes above stop creeping back in:
Good garden lighting is mostly restraint, a little aiming, and a habit of noticing. Get those three right and even a modest set of fittings will outperform a garden with twice as many lights and half the thought.
Photo: LeoNeoBoy / Pixabay
A practical guide to lanterns, string lights and fire bowls: how to layer decorative garden lighting for...
Seven compact lighting strategies for courtyards and small city gardens, using vertical accents,...
Practical ways to conceal garden lights, transformers and cable runs using planting, mulch and edging — so...