Garden Decor Lighting Ideas: Lanterns, String Lights, and Fire Bowls
A practical guide to lanterns, string lights and fire bowls: how to layer decorative garden lighting for...

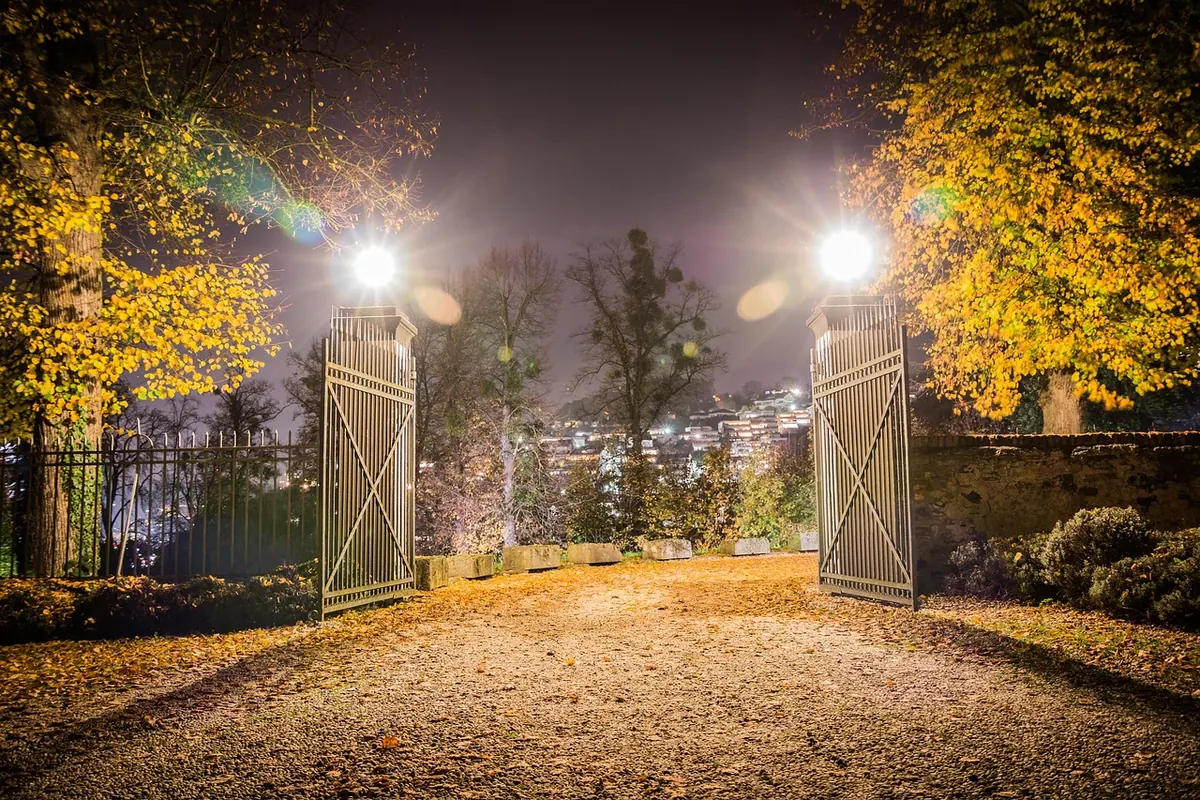
A garden path is the one place in a lighting scheme where the light itself should almost disappear. What you want is a surface you can read underfoot, a clear edge, and a hint of what lies ahead — nothing more. Most path lighting fails on exactly that point, and rarely because the fixtures are cheap. It fails because the source is visible, the output is too high, or the aim is wrong. Fix those three things and the glare usually goes with them.
Glare is not really about brightness. It is about contrast. After dark your eyes adapt to a low light level, and any small, intense source in that dim field becomes uncomfortable to look at — even a lamp that would seem modest indoors. A path fixture mounted at knee height sits close to the eye and often points across the line of sight, which is the worst combination available.
In practice, path glare comes from a handful of familiar mistakes:
Every one of these is a design decision, not a product defect. That is encouraging: you can design your way out.
Start with the sight lines rather than the spacing. Walk the path in daylight and note every place a person will stand and look: the gate, the back door, the patio edge, the bench, the kitchen window. Fixtures should sit outside those lines, so the source is never the first thing in view.
Set path lights just outside the paving edge — roughly 150 to 300 mm beyond it — and aim the beam in across the surface. The pool of light lands on the path where it belongs, and the fixture housing is seen from the side or behind. Centring fixtures on the path guarantees that anyone walking toward them stares straight into the lens.
A single, consistent side gives a calm, legible edge and is the safest choice for a narrow path. Alternating sides suits wider paths where one row cannot reach across, but be sparing: a perfectly regular zigzag on both sides starts to read as a runway. Space the fixtures so the pools of light just touch at their edges. For most garden path lights that means roughly 2 to 3 metres apart, adjusted once you see the actual pools at night.
Steps, level changes, a gravel-to-paving transition, a corner near water — these deserve their own light, because they are where people trip and where the eye needs confirmation. A step lit from the side reads clearly; a step lit from directly ahead flattens out and becomes harder to judge.
The single most useful rule for path lighting is that the light source should sit below the eye line of anyone using the path. For a standing adult, that usually means a fixture height of 400 to 600 mm. Low stake and dome lights in that range light the ground and stay out of the field of view.
Taller bollards, the 800 to 1000 mm type, look elegant in a catalogue and glare badly in a garden unless they have a deep internal louvre or a shielded top that hides the LED from every angle. If you inherit bollards like this, check them at night from a crouch as well as from standing height — children and seated guests see them differently.
For steps, recess the light into the riser rather than the tread, and set the lens back 20 to 30 mm inside the housing so the light washes across the step below without the source being visible from the stair. The same logic applies to low walls and handrails: recess, shield, and keep the raw source out of sight.
Beam angle controls both the size of the pool and how comfortable it is to look at. A narrow beam concentrates the same output into a smaller area, raising the surface brightness and creating a hot spot with a dark ring around it — high contrast, and therefore more glare. For paths, most designers work in the 40 to 90 degree range.
The geometry is simple enough to plan with. A beam's spread is roughly twice the mounting height multiplied by the tangent of half the beam angle. A 60 degree fixture mounted 600 mm above the ground throws a pool about 700 mm across: fine for a narrow flagstone path, too tight for a two-metre gravel walk. Raise the fixture and the pool widens, but the source climbs toward eye level. Widening the beam is usually the better trade.
Aim slightly downward and along the path rather than straight across it, and tilt only as far as you need to. Every extra degree of tilt pushes more of the beam toward the viewer.
Shielding covers anything that puts a physical barrier between the emitter and the eye. It is the most overlooked part of path lighting and the most effective.
Fixtures finished in dark grey, bronze or black also help, because the housing itself stops calling attention to the lamp.
Never trench cable or fix brackets on a daytime layout. Lay the fixtures on the ground, connect them temporarily, and wait for full darkness. Then work through this:
Adjust until the fixtures disappear from view and only the path remains. Then fix everything in place.
Good path lighting is judged by what you cannot see. Keep the sources low and off the walking line, choose a beam wide enough to avoid hot spots, shield every lens, and run the whole system dimmer than feels natural at first. A warm, gently scalloped edge of light is far more useful underfoot than a bright row of points, and it lets you keep some night in the garden.
One practical note: mains-voltage outdoor wiring is a job for a qualified electrician, including the cable route, waterproof connections and protection for the circuit. Low-voltage garden systems are simpler to handle, but the connections still need to be properly sealed and the transformer kept somewhere dry.
Photo: i-eagle123 / Pixabay
A practical guide to lanterns, string lights and fire bowls: how to layer decorative garden lighting for...
Seven compact lighting strategies for courtyards and small city gardens, using vertical accents,...
Practical ways to conceal garden lights, transformers and cable runs using planting, mulch and edging — so...